There’s something profoundly enchanting about the night sky, an endless canvas of twinkling stars, glowing planets, and the ethereal Milky Way stretching across the darkness. For many, capturing this celestial beauty is more than a hobby—it’s a passion. Whether you’re a seasoned photographer or a novice with a newfound interest, night sky photography offers an incredibly rewarding experience, blending technical skill with artistic expression.
In this comprehensive guide, we’ll delve into the essential tips and techniques to help you master the art of night sky photography. From choosing the right gear and settings to planning your shoots and post-processing your images, this article will equip you with everything you need to create breathtaking photos of the night sky. Let’s unlock the magic together!
1. Choose the Right Camera
DSLR vs. Mirrorless
For night sky photography, a DSLR or mirrorless camera is ideal due to their larger sensors and better low-light performance. Both types offer great flexibility, but mirrorless cameras are often lighter and more compact, which can be advantageous for long shoots. The ability to change lenses also provides versatility, allowing you to use wide-angle lenses that are perfect for capturing expansive night skies.
Full-Frame Sensors
Cameras with full-frame sensors generally perform better in low-light conditions, producing less noise and capturing more detail. Full-frame sensors have larger pixels, which means they can collect more light, making them more sensitive in dark environments. This sensitivity is crucial for night sky photography, where light is scarce and every bit of sensor efficiency counts.
2. Use a Fast Wide-Angle Lens for Night Sky Photography
Wide-Angle Benefits
A wide-angle lens allows you to capture more of the sky and often includes interesting foreground elements. Look for lenses with focal lengths between 14mm and 24mm. This range not only captures a broad swath of the sky but also enhances the sense of depth and scale in your photos. Including terrestrial elements like trees, mountains, or buildings can provide context and make your images more compelling.
Fast Apertures
Lenses with wide apertures (f/2.8 or lower) let in more light, essential for night photography. These lenses help in capturing clearer and brighter images of the night sky. A fast aperture allows you to use shorter exposure times and lower ISO settings, reducing the risk of star trails and noise in your images. This makes your photos sharper and more detailed.
3. Invest in a Sturdy Tripod
Stability Matters
Long exposure times are critical in night sky photography, and even the slightest camera shake can ruin a shot. A sturdy tripod ensures stability and sharp images. Look for tripods with solid build quality, preferably made of materials like aluminum or carbon fiber. They provide the necessary support without being too heavy to carry around.
Lightweight Options
While stability is key, consider the weight of your tripod if you plan to hike to remote locations. Carbon fiber tripods, though more expensive, offer a good balance between stability and portability. Features like adjustable legs and a ball head can also enhance your setup’s flexibility, allowing you to position your camera at the perfect angle.
4. Get a Remote Shutter Release
Avoiding Camera Shake
Using a remote shutter release or an intervalometer helps prevent camera shake during long exposures. This tool is essential for capturing crisp, clear images. Even pressing the shutter button can introduce slight vibrations, which are amplified during long exposures. A remote shutter release eliminates this problem, ensuring your shots remain sharp.
Intervalometer Advantages
An intervalometer is particularly useful for time-lapse photography or capturing star trails, as it automates the shooting process. By setting your camera to take multiple exposures over a period, you can create stunning time-lapse videos or composite images of star trails. This tool allows you to focus on composition and other details without constantly attending to your camera.
5. Master Manual Mode for Night Sky Photography
Full Control
Shooting in manual mode gives you full control over your camera settings, essential for adjusting to the varying conditions of night photography. Night sky photography requires precise control over exposure settings to capture the faint light of stars without overexposing the foreground. Manual mode lets you tweak these settings to perfection.
Practice and Patience
Mastering manual settings requires practice, but it pays off in the quality of your night sky photos. Spend time familiarizing yourself with your camera’s controls and experimenting with different settings in various conditions. Over time, you’ll develop an intuition for the right settings, making your night sky photography more efficient and rewarding.
6. Optimize Your ISO Settings
Balancing Sensitivity and Noise
Higher ISO settings increase your camera’s sensitivity to light but also introduce noise. Start with an ISO between 1600 and 3200 and adjust based on your results. Modern cameras have improved significantly in handling high ISO settings, but it’s still important to find the balance between sensitivity and image quality.
Noise Reduction Techniques
Use noise reduction features in your camera or post-processing software to minimize graininess without losing detail. Many cameras offer in-built noise reduction settings, but for more control, post-processing tools like Adobe Lightroom or Noise Ninja can help. These tools allow you to selectively reduce noise while preserving important details in your photos.
7. Set the Right Aperture
Wide Apertures
Use a wide aperture (f/2.8 or lower) to let in as much light as possible. This is crucial for capturing faint stars and other celestial details. A wide aperture reduces the depth of field, which can be advantageous for isolating stars from the background. It also allows for shorter exposure times, reducing the risk of star movement blurring your images.
Depth of Field Considerations
While a wide aperture helps with light, it also affects depth of field. Be mindful of your focus to ensure both your foreground and the sky are sharp. To achieve this, focus on a point roughly one-third into the frame. This technique, known as hyperfocal focusing, maximizes the depth of field, keeping more of your scene in sharp focus.
8. Perfect Your Shutter Speed
Avoiding Star Trails
To capture sharp stars, use the “500 Rule”: divide 500 by your lens’s focal length to get the maximum shutter speed before stars start to trail. For example, with a 20mm lens, you would use a maximum shutter speed of 25 seconds (500/20=25). This rule helps ensure that your stars remain points of light rather than turning into streaks.
Experimentation
Experiment with different shutter speeds to find the perfect balance for your specific scene and conditions. In some cases, you might want to capture the movement of the stars intentionally, creating star trails. For this, longer exposure times, often several minutes, are needed. Bracketing your shots with different shutter speeds can also provide a range of exposures to choose from during post-processing.
9. Focus Manually for Night Sky Photography

Infinity Focus
Autofocus struggles in low light, so switch to manual focus. Focus on a bright star or a distant light to achieve infinity focus. Most lenses have an infinity focus mark, but it’s often not perfectly accurate. Use your camera’s live view mode to zoom in on a bright star and adjust the focus until the star appears as a small, sharp point.
Live View
Use your camera’s live view feature to zoom in on stars and fine-tune your focus. Live view allows for greater precision, especially when working in the dark. Some cameras also offer focus peaking, which highlights the areas in sharp focus, making it easier to achieve perfect focus even in challenging conditions.
10. Plan Your Shoot
Check the Weather
Clear skies are essential for night sky photography. Use weather apps to find the best nights for shooting. Clouds and moisture in the air can obscure your view of the stars and create halos around lights. Apps like Clear Outside and AccuWeather provide detailed forecasts and can help you plan your sessions around the best weather conditions.
Light Pollution Maps
Find dark sky locations using light pollution maps. The darker the sky, the more stars you’ll capture. Websites and apps like Dark Site Finder and Light Pollution Map are invaluable resources for identifying the best locations near you. These tools show areas with minimal artificial light, offering clearer views of the night sky.
11. Time Your Shoot with the Moon Phases
New Moon Advantage
The best time for star photography is during a new moon when the sky is darkest. A full moon, while beautiful, illuminates the sky and reduces the visibility of stars. Plan your shoots around the new moon phase to capture the most stars.
Moonrise and Moonset
Plan your shoots around moonrise and moonset times to avoid the bright light of a full moon. Even a crescent moon can affect the visibility of stars. Apps like Moon Phase Calendar and Photographer’s Ephemeris help you track moon phases and plan your sessions accordingly.
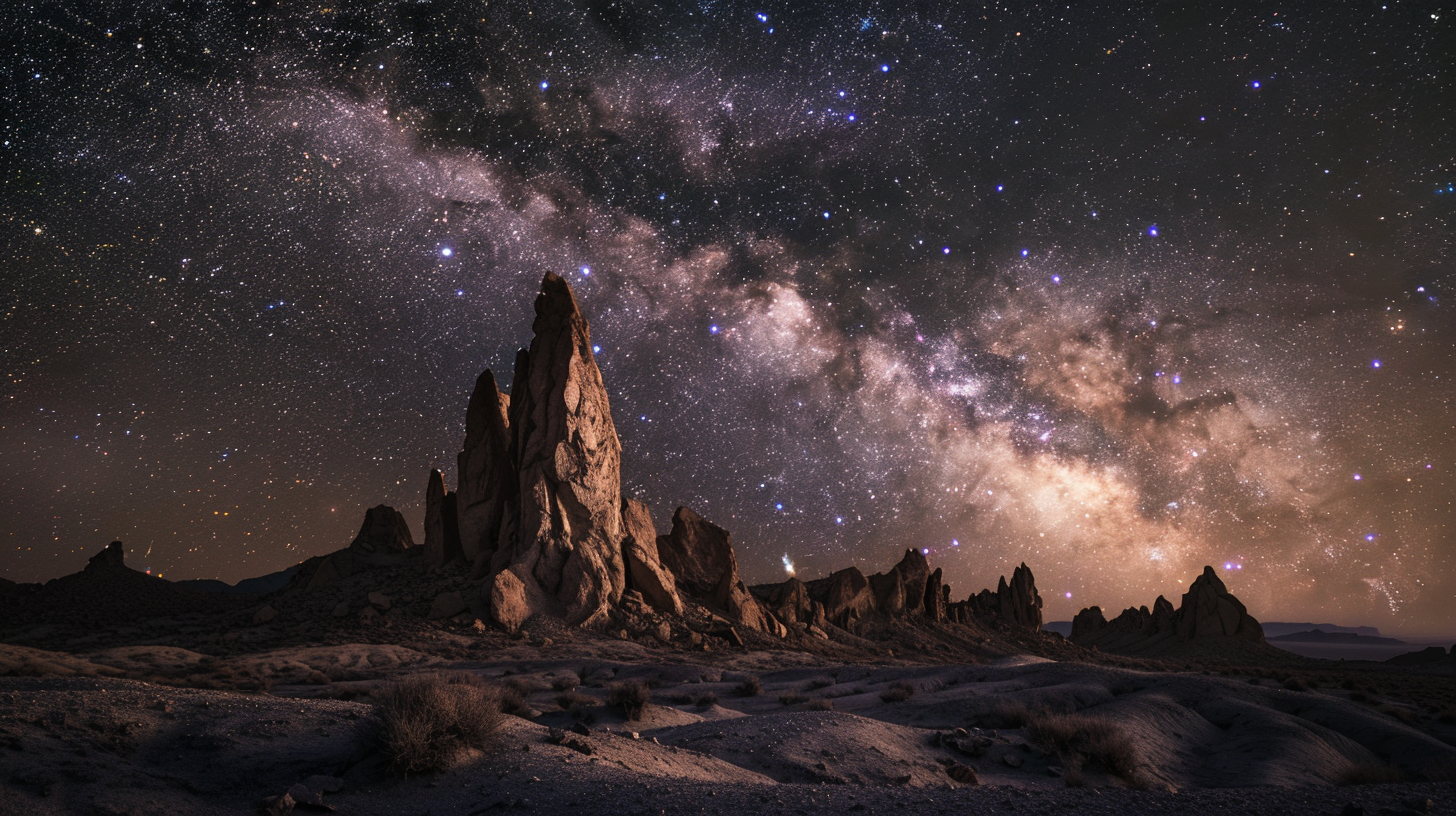
12. Capture the Milky Way
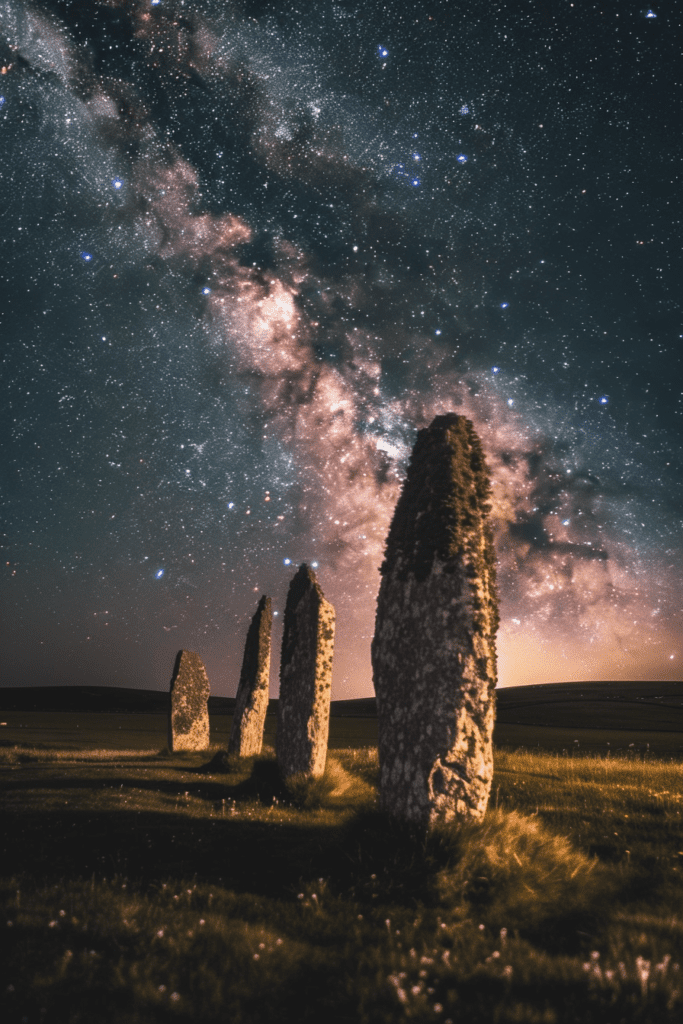
Best Times and Locations
The Milky Way is most visible during the summer months in the northern hemisphere. Research the best times and places to capture this stunning feature. Dark sky reserves and remote locations far from city lights offer the best views. The Milky Way’s core is particularly bright and colorful, making it a prime target for night sky photographers.
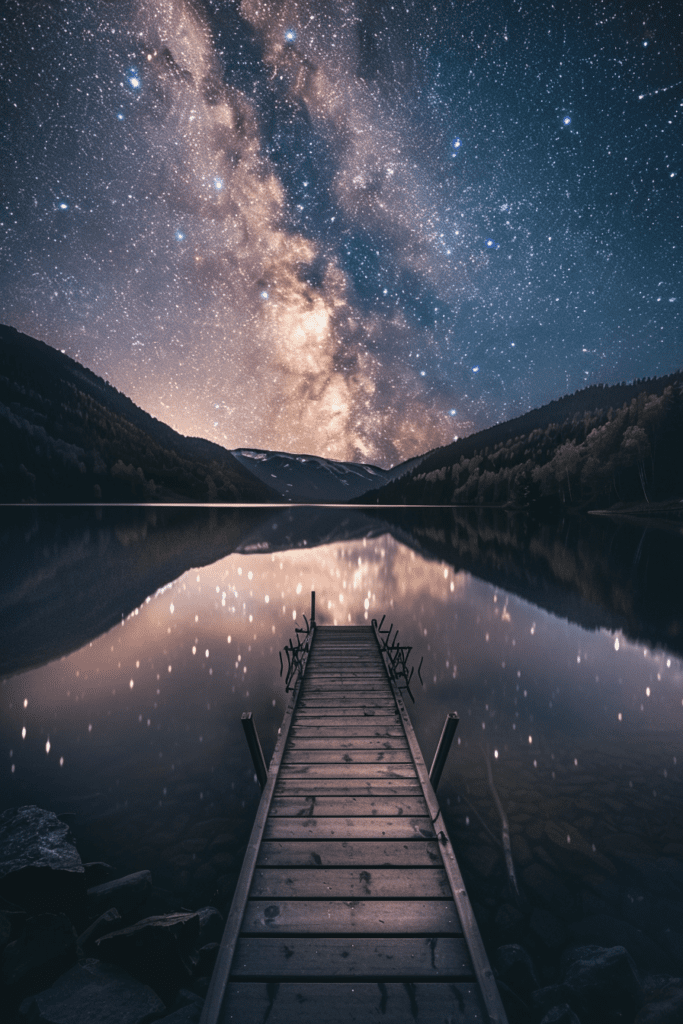
Composition Tips
Include interesting foreground elements to add depth and context to your Milky Way photos. Mountains, trees, and water bodies can create stunning compositions. Experiment with different angles and perspectives to find the most compelling shots. Leading lines and framing can also help draw the viewer’s eye towards the Milky Way.
13. Experiment with Star Trails
Long Exposures
To capture star trails, set your camera for long exposures or use an intervalometer to take a series of short exposures that can be stacked later. Star trails illustrate the rotation of the Earth, creating beautiful circular patterns in the sky. The length of your exposures will determine the length of the trails.
Stacking Software
Use software like StarStaX or Photoshop to stack multiple images and create beautiful star trail photos. Stacking allows you to combine several shorter exposures, reducing noise and capturing longer trails without overexposing the image. This technique also provides more control over the final image, letting you adjust each layer for optimal results.
14. Post-Processing Techniques
Basic Adjustments
Adjust exposure, contrast, and white balance to enhance your photos. Most night sky photos benefit from some post-processing. Tools like Adobe Lightroom and Capture One offer powerful adjustments to bring out the details in your images. Start by adjusting the exposure and contrast to reveal the stars, then fine-tune the white balance to correct any color casts.
Advanced Techniques
Learn advanced editing techniques like stacking, blending, and noise reduction to improve your night sky images further. Stacking multiple exposures reduces noise and increases detail, while blending allows you to combine different exposures for a balanced final image. Use selective noise reduction to target noisy areas without losing sharpness in the stars.
15. Join a Community
Learn and Share
Join online forums and local photography groups to learn from others, share your work, and get feedback. Communities like Reddit’s r/astrophotography and forums on websites like Cloudy Nights offer a wealth of knowledge and support. Sharing your work and getting constructive criticism can help you grow as a photographer.
Workshops and Courses
Consider attending workshops or taking online courses to improve your skills and stay inspired. Many experienced night sky photographers offer workshops that cover everything from camera settings to post-processing techniques. Online courses provide flexibility, allowing you to learn at your own pace.
Conclusion
Night sky photography is a magical and rewarding pursuit, combining technical skill with artistic vision. By following these 15 essential tips, you’ll be well on your way to capturing stunning images of the cosmos. So grab your gear, head out to a dark sky location, and start shooting. Don’t forget to share your masterpieces with the world and inspire others to look up and capture the night sky! Whether you’re aiming to document the serene beauty of the Milky Way, the dynamic trails of the stars, or the mystical glow of the Northern Lights, these tips will help you on your journey. Happy shooting!