Landscape photography beautifully captures the vast and varied beauty of nature, from serene rolling hills and tranquil forests to dramatic coastlines and bustling urban skylines. Mastering the right camera settings for landscape photography is crucial, not just for capturing a good shot, but for manipulating each setting to best represent the scene before you.
This guide dives deep into the essential camera settings—aperture, shutter speed, ISO, and focus—tailoring each to different environments and lighting conditions. By understanding and mastering these settings, you’ll enhance both the technical quality and artistic expression of your photos, allowing you to bring out the depth and color of the landscape, and ensuring your photographs reflect the grandeur of the vistas you encounter.
1. Choosing the Right Aperture
Aperture, one of the three pillars of the exposure triangle along with shutter speed and ISO, controls the amount of light entering through the lens by adjusting the size of the lens’ diaphragm. It is expressed in f-numbers such as f/1.4, f/2.8, f/8, and f/16. Aperture significantly affects depth of field, i.e. how sharp background elements will appear, and is therefore one of the most important camera settings for landscape photography.
Optimal Aperture for Landscape Photography:
- Maximum Depth of Field: Typically, landscape photographers aim for the sharpest possible image from foreground to background. To achieve this, a smaller aperture (larger f-number) is ideal. Apertures like f/11 or f/16 narrow the lens opening, allowing light to hit the sensor more uniformly and increasing the depth of field. This means that both the elements near the camera and those far away will be in clear focus.
- Lens Sweet Spot: Every lens has a “sweet spot,” usually around one to two stops down from its widest aperture. For many lenses, this sweet spot lies between f/8 and f/11, where the lens provides the best balance of depth of field and sharpness. Shooting in this range minimizes the optical distortions like diffraction, which can soften the image when using very small apertures.
- Specific Scenarios:
- For expansive views with no significant elements very close to the lens, an aperture of f/8 can often suffice.
- In contrast-heavy lighting or when elements are spread out through the scene, pushing the aperture to f/16 or even f/22 might be necessary, although this can sometimes introduce diffraction.
Practical Application Tips:
- Use Aperture Priority Mode: This camera mode, typically designated as ‘A’ or ‘Av’ on the camera mode dial, allows you to set the aperture while the camera automatically selects the shutter speed to match the exposure. This mode is particularly useful in landscape photography to control depth of field while adapting to changing light conditions.
- Check Your Focus: After setting your aperture, use your camera’s live view mode to zoom in on different parts of the image to ensure everything from the foreground to the background is sharply in focus. This is especially important when using narrower apertures.
- Experiment with Hyperfocal Distance: Mastering the hyperfocal distance—focusing at the specific point where everything from half that distance to infinity falls within the depth of field—can dramatically improve the sharpness of your landscape images.
By manipulating aperture effectively, you can not only control the technical aspects of your photograph but also enhance its artistic quality, making the viewer feel as though they are stepping into the landscape itself.
2. Mastering Shutter Speed
Shutter speed, which measures how long your camera’s sensor is exposed to light, plays a critical role in defining the mood and dynamism of your landscape photos. It can freeze a moment in time or blur motion, depending on how you want to convey a scene.
Understanding Shutter Speed in Landscape Photography:
- Freezing Motion: In landscapes where movement is a key element, such as waves crashing against rocks or leaves rustling in the wind, a fast shutter speed is essential. Speeds like 1/500 second or faster will capture these moments without blur, preserving the energy and detail of the moving subjects.
- Creating Motion Blur: For a more artistic effect, such as smoothing water in a waterfall or blurring clouds as they streak across the sky, slow shutter speeds are required. This can range from 1/15 of a second to several minutes, depending on the desired effect. Long exposures like these often necessitate the use of a tripod to prevent camera shake and maintain sharpness in stationary elements of the composition.
Practical Tips for Effective Shutter Speed Control:
- Use a Tripod: To ensure sharpness in your images, especially with long exposures, stabilizing your camera on a tripod is crucial. This eliminates the risk of blur from hand-held shaking, which is magnified at slower shutter speeds.
- Employ ND Filters: Neutral density (ND) filters reduce the amount of light entering the lens, allowing you to extend shutter speeds under bright conditions without overexposing the shot. This is particularly useful for achieving those creamy, dream-like effects in daylight.
- Shutter Priority Mode: Similar to aperture priority, this mode (often denoted as ‘S’ or ‘Tv’) allows you to select the shutter speed while the camera automatically adjusts the aperture for proper exposure. It’s a useful tool when you’re aiming to capture motion in a specific way.
By carefully selecting your shutter speed, you can control how motion is depicted in your landscape photography, turning ordinary scenes into dramatic visuals that evoke emotion and tell a story.
3. ISO Settings for Maximum Image Quality
ISO sensitivity is a critical setting that affects both the brightness and the overall quality of your images. In landscape photography, where detail and color fidelity are paramount, managing ISO settings effectively is key to producing high-quality images.
Optimal ISO for Landscape Photography:
- Low ISO for High Quality: The base ISO of your camera—typically ISO 100 or 200—will generally provide the highest image quality, with minimal noise and maximum detail. It’s ideal for most daylight landscape photography scenarios.
- Adjusting ISO in Varying Light Conditions: In conditions where light is limited, such as during dawn, dusk, or in heavily shaded areas, you may need to increase the ISO to achieve a correct exposure without resorting to impractically slow shutter speeds or excessively wide apertures.
Tips for Managing ISO in Landscape Photography:
- Start Low, Increase as Needed: Always start at the lowest ISO setting and only increase it if you find that your aperture and shutter speed adjustments cannot achieve the desired exposure. Increasing ISO is a trade-off between exposure and image quality (due to increased noise), so adjustments should be made cautiously.
- Use Auto ISO with Limits: Many modern cameras offer an Auto ISO feature that adjusts the ISO automatically based on lighting conditions. You can set limits on how high the ISO can go, which helps in maintaining control over image quality while allowing some flexibility for changing light conditions.
- Post-Processing Considerations: When shooting in RAW format, you can tweak exposure and reduce noise more effectively in post-processing software compared to working with JPEG files. This gives you a bit more leeway in ISO settings during shooting.
By understanding and controlling ISO settings, photographers can ensure that their landscape images maintain clarity and detail, even under challenging lighting conditions. This balance is crucial for capturing the true essence of a landscape, preserving its natural beauty for all to see.
4. Focusing Techniques for Sharp Images
Sharp focus is essential in landscape photography to ensure that all elements within the frame, from the nearest to the farthest, are crisply defined. Here’s how to manage focus effectively to achieve stunning landscape shots.
Mastering Focus in Landscape Photography:
- Manual Focus for Precision: While autofocus is useful in many scenarios, landscape photography often benefits from the manual focus. This gives you complete control over the focal point, especially in complex scenes where autofocus may struggle, such as scenes with minimal contrast or when shooting through elements like grass or branches.
- Hyperfocal Distance for Maximum Depth of Field: The hyperfocal distance is the focusing distance that provides the greatest depth of field from half this distance to infinity. By focusing at this point, you maximize the sharpness throughout the entire scene. This technique is particularly useful when you want both the foreground and the background to be in sharp focus.
Practical Tips for Effective Focusing:
- Use Live View and Zoom In: Many cameras offer a live view mode that displays the image on the LCD screen. Use this feature to manually adjust your focus by zooming in on the desired area of your frame to ensure sharpness.
- Focus Stacking for Ultimate Sharpness: In situations where you want extreme depth of field (from very close foregrounds to distant backgrounds), consider using focus stacking. This technique involves taking multiple photos with different focus points and then blending them together in post-processing to create an image with greater depth of field than could be achieved in a single exposure.
- Back-Button Focusing: This technique separates focusing from the shutter button by assigning focus activation to another button on the back of the camera. It allows for keeping the focus locked between shots without having to refocus each time you press the shutter, which is ideal for shooting multiple exposures of the same scene.
By mastering these focusing techniques, you can ensure that every part of your landscape photograph is sharp and detailed, enhancing both the impact and the visual appeal of your images.
5. White Balance Adjustments
White balance controls the color temperature of your photographs, affecting how warm or cool they appear. In landscape photography, correct white balance is crucial to accurately representing the scene as perceived by the human eye, or for creatively altering the mood of your images.
Understanding White Balance Settings:
- Auto White Balance (AWB): While convenient, AWB can sometimes misinterpret the scene, especially in mixed lighting conditions or during sunrise and sunset, leading to less than optimal color accuracy.
- Preset White Balance Settings: Most cameras come with preset white balance settings such as Daylight, Cloudy, Shade, and Tungsten. These presets can be used to quickly adjust the camera’s color response to match standard lighting conditions.
- Custom White Balance: For the most accurate color reproduction, you can set a custom white balance by using a grey card or another neutral reference under the current lighting condition. This tells the camera what “white” looks like, helping it to calibrate all other colors accordingly.
Tips for Adjusting White Balance in Landscape Photography:
- Match or Modify: Decide whether you want to match the white balance to the scene for natural colors or modify it for artistic effect. For instance, increasing warmth can enhance sunset photos, while cooler tones might be desirable for a snowy landscape.
- Bracket Your White Balance: Similar to exposure bracketing, you can take multiple shots with different white balance settings. This is particularly useful in challenging lighting conditions, allowing you to choose the best color balance during post-processing.
- Post-Processing Adjustments: Shooting in RAW format allows for the greatest flexibility in adjusting white balance during post-processing. Unlike JPEGs, RAW files retain more information and enable finer adjustments without degrading image quality.
By mastering white balance, you ensure that your landscape photos have pleasing, natural colors, or perhaps even evoke a particular mood or feeling, further enhancing the storytelling of your photographs.
6. Lens and Filter Use
Selecting the right lens and understanding how to use filters effectively can significantly enhance the quality and impact of your landscape photos. Each lens and filter type brings its unique strengths to your compositions, allowing for greater artistic expression and technical precision.
Choosing the Right Lens:
- Wide-Angle Lenses: These lenses are a staple in landscape photography because of their broad field of view, enabling you to capture expansive landscapes. They typically range from 14mm to 35mm and are excellent for including vast amounts of the scene while emphasizing the foreground and creating a sense of depth.
- Telephoto Lenses: While less common in classic landscape photography, telephoto lenses (70mm and above) can be used creatively to compress distances and bring faraway subjects closer. They are ideal for isolating specific features of a landscape, such as a mountain peak or a tree standing alone in a field.
- Standard Lenses: Lenses around 50mm provide a field of view similar to that of the human eye. These are less common in landscape photography but can be used effectively for ‘natural’ looking images and to focus on simplicity and balance within the frame.
Using Filters to Enhance Images:
- Polarizing Filters: These filters are invaluable for reducing reflections from water and foliage, increasing color saturation, and enhancing sky contrast. They work best under bright conditions and when the camera is positioned perpendicular to the sun.
- Neutral Density (ND) Filters: ND filters allow for longer exposure times by reducing the amount of light entering the lens without affecting the color of the image. They are perfect for creating motion blur in rivers, waterfalls, and clouds, even under bright sunlight.
- Graduated ND Filters: Graduated ND filters transition from clear to opaque, helping to balance the exposure between a bright sky and a darker landscape. They are particularly useful during sunrises and sunsets, where the contrast between the sky and ground is significant.
Practical Tips for Using Lenses and Filters:
- Experiment with Focal Lengths: Don’t hesitate to change your lens based on what the scene demands. Sometimes, a different perspective can completely alter the impact of a landscape photograph.
- Careful Composition with Filters: When using filters, especially graduated ND filters, pay attention to the horizon line to ensure the transition between the dark and clear parts of the filter aligns well with the landscape features.
- Maintain Lens Quality: Always ensure your lenses and filters are clean and free of smudges, dust, and scratches as these can significantly degrade the quality of your images.
By strategically selecting and utilizing different lenses and filters, you can greatly enhance the artistic quality of your landscape photos, adapting to various scenarios and lighting conditions to capture the best possible imagery.
7. Advanced Techniques for Night and Low Light Photography
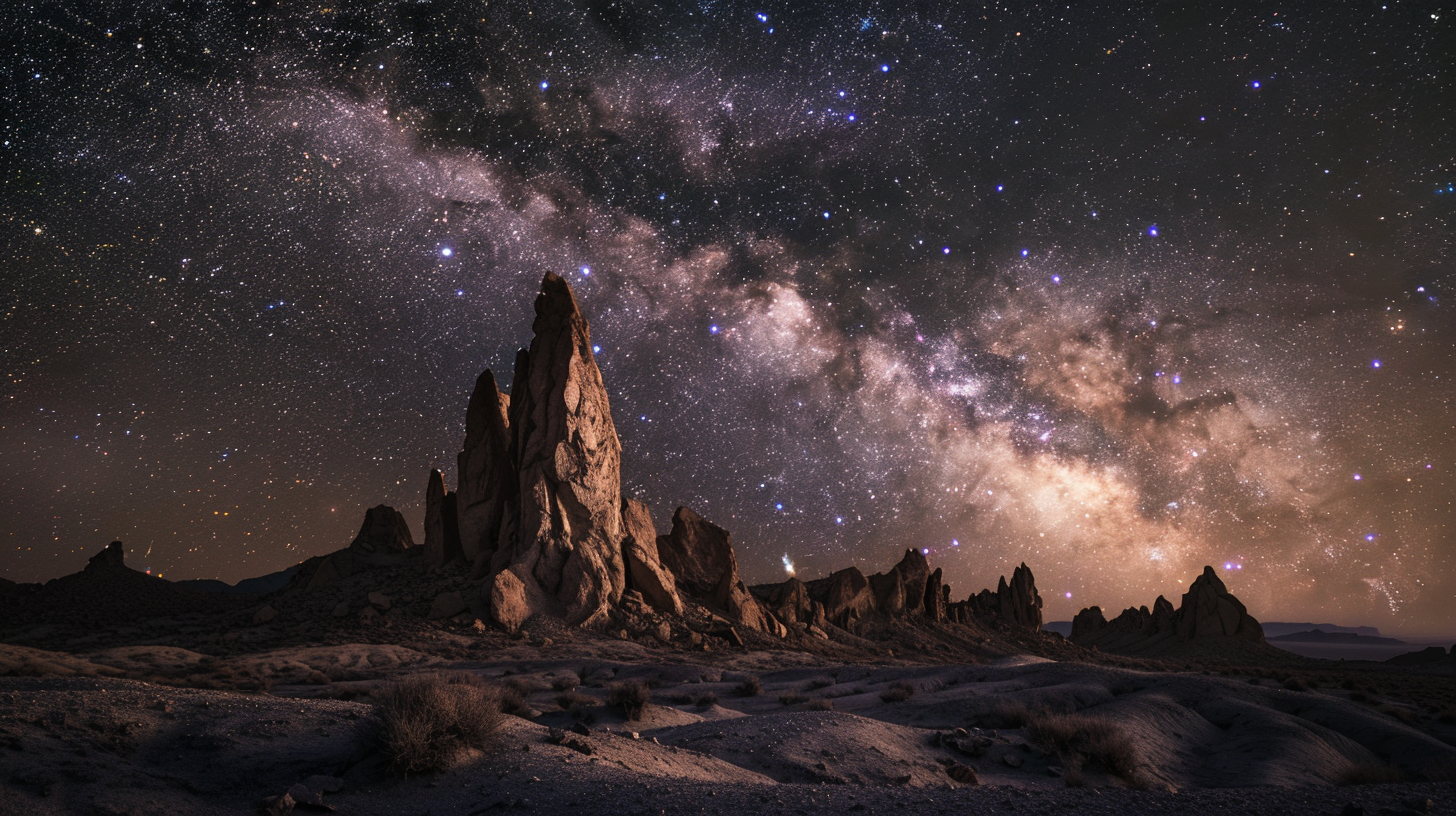
Night and low light environments present unique challenges and opportunities in landscape photography. Mastering specific settings and techniques can help you capture dramatic and beautiful images under the stars or during the twilight hours.
Essential Camera Settings for Night Landscapes:
- Wide Aperture: To maximize the amount of light captured, use the widest aperture available on your lens (e.g., f/2.8 or f/4). This is crucial for night scenes to prevent excessive noise and to keep exposure times within reasonable limits.
- Long Exposures: Depending on the scene and the effect desired, shutter speeds can range from seconds to minutes. Long exposures can illuminate details of the landscape under moonlight or capture the movement of the stars across the night sky.
- Higher ISO Settings: Unlike daytime landscape photography, night photography often requires higher ISO settings to achieve a usable exposure without excessively long shutter speeds. Modern cameras can handle higher ISO settings well, but it’s always a balance between exposure and acceptable noise levels.
Advanced Techniques:
- Star Trails: To capture star trails, use a long exposure time (several minutes to hours). This requires a sturdy tripod and optionally an intervalometer to manage the long exposure without camera shake.
- Light Painting: In very dark environments, you can use artificial light sources like flashlights or external flashes to selectively illuminate parts of the landscape, adding depth and interest to the scene.
- Bracketing and Blending: For scenes with high contrast or challenging lighting, bracketing exposures and blending them in post-processing can help maintain detail in both shadows and highlights.
Night landscape photography can transform familiar scenes into otherworldly experiences. With the right settings and some practice, you can capture stunning landscapes that showcase the beauty of the natural world in unique lighting conditions.
8. HDR and Exposure Bracketing
High Dynamic Range (HDR) photography and exposure bracketing are powerful techniques for capturing landscapes with a wide range of light levels. These methods help overcome the limitations of camera sensors, which might not be able to capture both extreme highlights and shadows in a single exposure.
Understanding HDR and Exposure Bracketing:
- HDR (High Dynamic Range):
- Purpose: HDR is used to capture more detail in both the darkest and brightest parts of an image, which would otherwise be lost in a single exposure.
- Process: HDR involves taking multiple photos of the same scene at different exposure levels (usually captured through exposure bracketing) and then combining them into one image that showcases details across all levels of brightness. This merging is often done automatically by cameras or through post-processing software.
- Result: The final image displays a balanced exposure with enhanced details in both shadows and highlights. HDR is commonly used in situations with extreme contrast, such as landscapes with a bright sky and dark foreground.
- Exposure Bracketing:
- Purpose: Exposure bracketing is primarily used to ensure at least one photo has the optimal exposure, especially in challenging lighting conditions. It’s also the technique used to create the multiple exposures needed for HDR.
- Process: This technique involves taking several shots of the same scene at different exposures; typically, one at the metered exposure level, one underexposed, and one overexposed. The number of shots and the exposure variance between them can vary.
- Result: The photographer can choose the best-exposed image from the set or use the series of images for advanced processing techniques like HDR. Unlike HDR, bracketing itself does not create a final image—it provides material that can be used for HDR or other purposes.
Tips for Successful HDR and Bracketing:
- Use a Tripod: To ensure the multiple exposures align correctly during post-processing, it’s essential to use a tripod to keep the camera stable and in the same position.
- Choose the Right Software: Various software options can merge photos into a single HDR image. Popular choices include Adobe Photoshop, Lightroom, and dedicated HDR software like Photomatix. Each has different features and controls for merging images and adjusting the final photo’s appearance.
- Manual Adjustments: When creating HDR images, manually adjusting the tone mapping settings can help preserve a natural look while enhancing details and contrast.
- Consider the Natural Look: While HDR can dramatically enhance the dynamic range, it’s important to avoid over-processing, which can lead to unnatural, surreal images. Aim for subtlety in your HDR processing to maintain the realism of the scene.
By mastering HDR and exposure bracketing, photographers can significantly enhance the visual impact of their landscape images, capturing details and colors that might otherwise be lost in standard photos.
Conclusion
Mastering the camera settings for landscape photography can turn simple shots into stunning representations of the natural world. From the broad vistas captured with wide-angle lenses to the detailed close-ups possible with telephoto lenses, the right settings and techniques make a profound difference. Understanding how to manipulate aperture, shutter speed, ISO, focus, and white balance, along with using filters and embracing HDR, empowers photographers to capture landscapes in their full glory.
Landscape photography is not just about the technical aspects but also the experience of connecting with nature and conveying that connection through your images. Each setting you adjust and each technique you apply serves the purpose of deepening the visual and emotional impact of your work.
As you continue to explore and photograph the natural world, remember that every landscape offers a new challenge and a new opportunity to perfect your craft. Keep experimenting with different settings and techniques to find what works best for the scenes you encounter, and most importantly, enjoy the process of capturing the beauty that surrounds you.
Landscape photography is a journey—a pursuit that combines art and science in unique and fulfilling ways. Embrace it fully, and let your photos tell the stories of your adventures.
